
How to Uninstall Apple Watch from iPhone: A Complete 2024 Guide
Introduction
Unpairing your Apple Watch from your iPhone doesn’t have to be complicated. Whether you’re upgrading devices, selling your Apple Watch, or taking a break from wearable technology, following the correct steps is crucial to ensure you avoid data loss and any technical glitches. This comprehensive guide will walk you through the process, allowing you to seamlessly unpair your Apple Watch while maintaining your important data.

Preparing to Uninstall Your Apple Watch
Before proceeding with the unpairing process, some crucial preparatory steps will prevent unexpected data loss.
Understanding the Unpairing Process
Unpairing your Apple Watch involves disconnecting it from your iPhone and erasing all its data. This step is essential if you’re planning to sell or gift your watch. Backing up your data is crucial to avoid losing valuable information.
Backing Up Your Apple Watch Data
To safeguard your information, ensure your data is backed up properly. Apple automatically backs up your watch data to your iPhone, which is then saved to iCloud or iTunes when your iPhone backs up. Make sure your iPhone is fully backed up to retain all essential data before continuing.

Step-by-Step Guide to Uninstalling Apple Watch from iPhone
Once your data is secure, proceed through these steps to effectively unpair your Apple Watch from your iPhone:
-
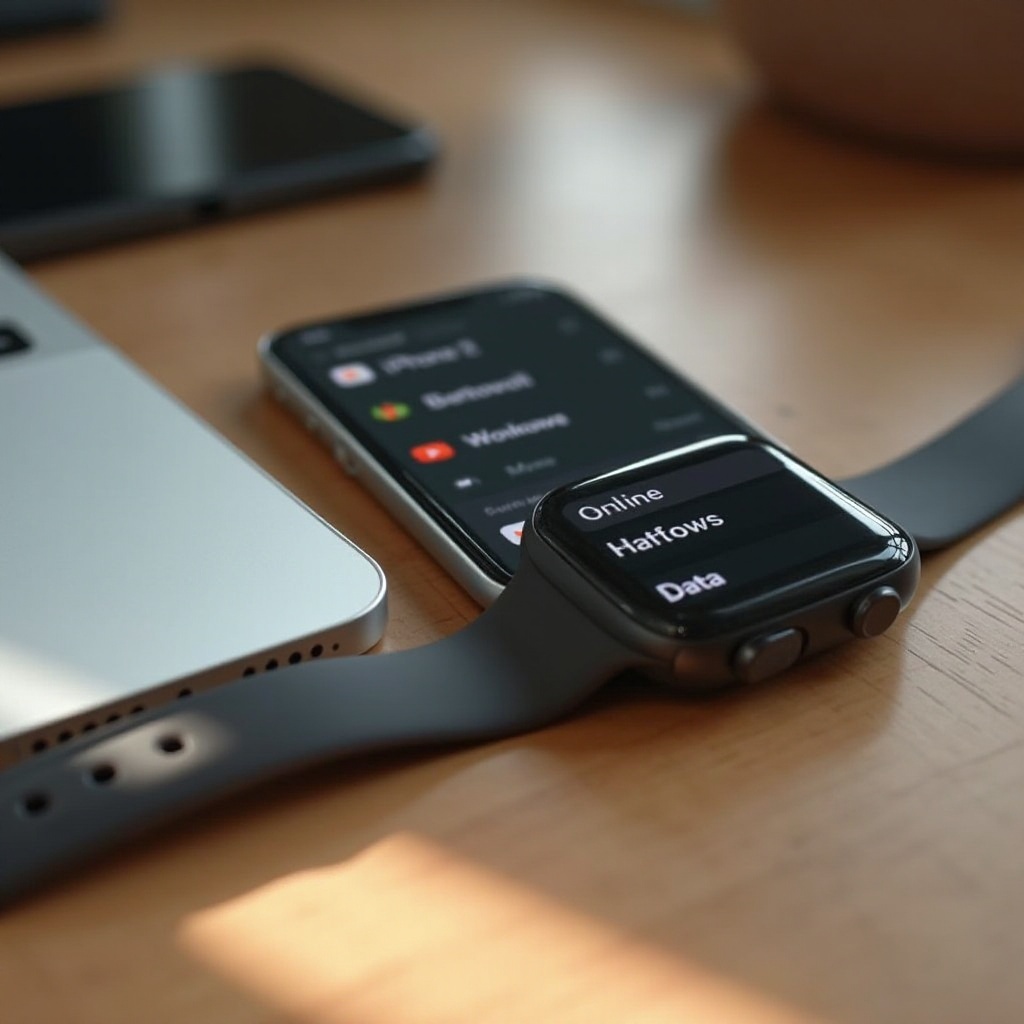
Open the Apple Watch App on Your iPhone
Find the Watch app icon on your iPhone and tap to open it. -
Navigate to ‘My Watch’ Tab
On the app’s main screen, ensure that you are in the ‘My Watch’ tab at the bottom of the screen. -
Select the Watch to Unpair
Tap on ‘All Watches’ at the top left corner, then tap on the information icon next to the watch you wish to unpair. -
Initiate the Unpairing Process
Tap ‘Unpair Apple Watch’. If you have a GPS + Cellular model, decide whether to keep or remove your cellular plan based on future intentions.
Troubleshooting Unpairing Issues
Occasionally, the unpairing process might encounter issues. If it takes longer than expected, try rebooting both devices or resetting the network settings on your iPhone.
Post-Unpairing Procedures
After successfully unpairing your Apple Watch, additional steps ensure the watch is ready for its next phase, be it a reset or preparing for sale.
Resetting Your Apple Watch
If the watch doesn’t erase itself automatically, reset it manually. On the watch, navigate to ‘Settings’ > ‘General’ > ‘Reset’ > ‘Erase All Content and Settings’.
Re-pairing Your Apple Watch (Optional)
When you plan to use the Apple Watch again with a different iPhone or after a repair, power it on, open the Watch app on the new phone, and follow the prompts to re-pair.
Managing Apple Watch Data and Settings
Understanding the implications for your data and settings after unpairing is essential to ensure complete management of your information.
Restoring from Backup
Re-pairing your watch with the same iPhone or a new one gives you the option to set it up as new or restore from a backup. Restoring can reinstate preferences and apps adequately.
Understanding What Happens to Your Data
Unpairing erases the watch’s data, but this data is stored safely on your iPhone’s backup. When you restore, items like app layouts, activity, and health data can be recovered.
Conclusion
Unpairing your Apple Watch doesn’t need to be stress-inducing. The steps outlined in this guide ensure a seamless transition, whether upgrading, selling, or taking a wearable tech break. Always remember to back up and understand data preservation processes so that your information remains intact.
Frequently Asked Questions
How do I know if my Apple Watch is unpaired successfully?
You’ll see the start-up screen on the watch, and it will no longer appear in the Apple Watch app on your iPhone.
Can I unpair my Apple Watch without my iPhone?
Yes, you can reset your Apple Watch directly from the device, but this method doesn’t keep the backup.
What should I do if my Apple Watch won’t unpair?
If issues persist, try restarting both devices or resetting network settings. As a last resort, contact Apple Support for assistance.