
How to Remove Blemishes on iPhone for Flawless Photos
Introduction
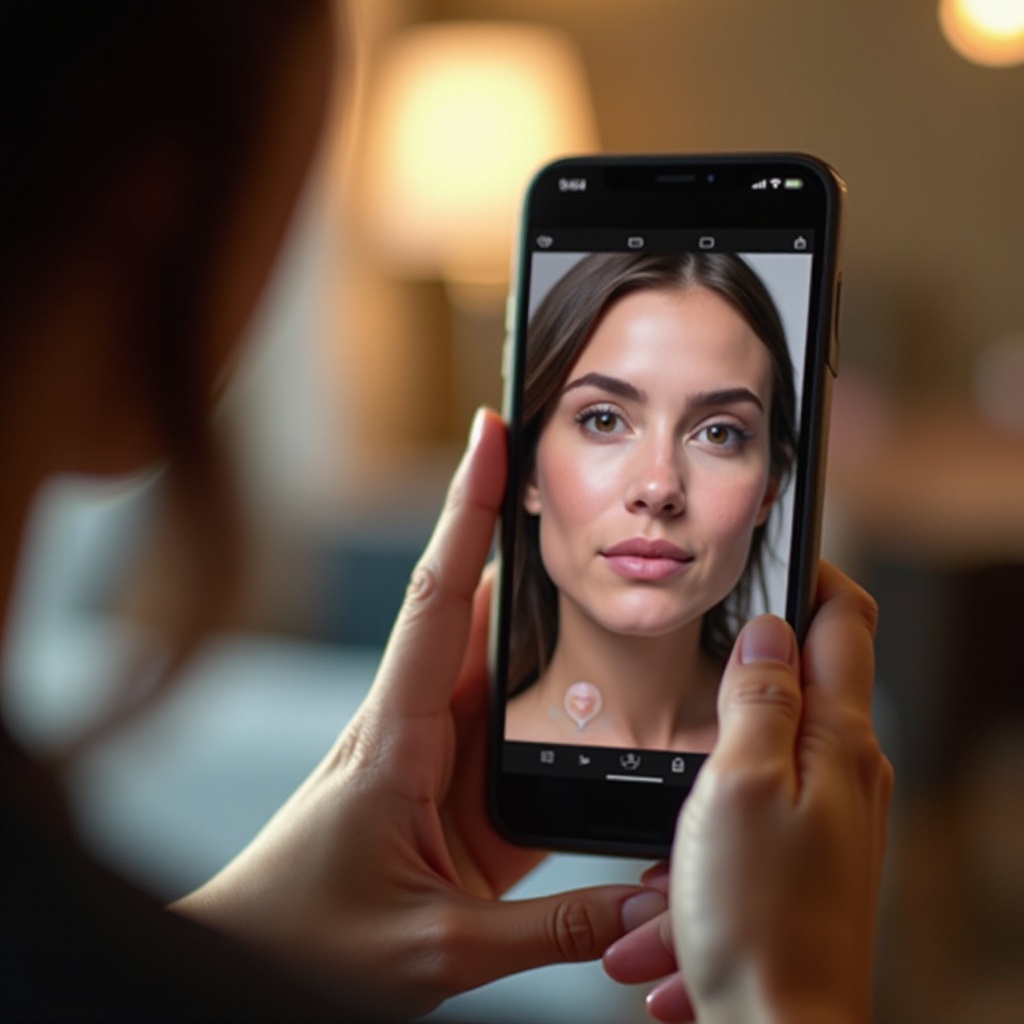
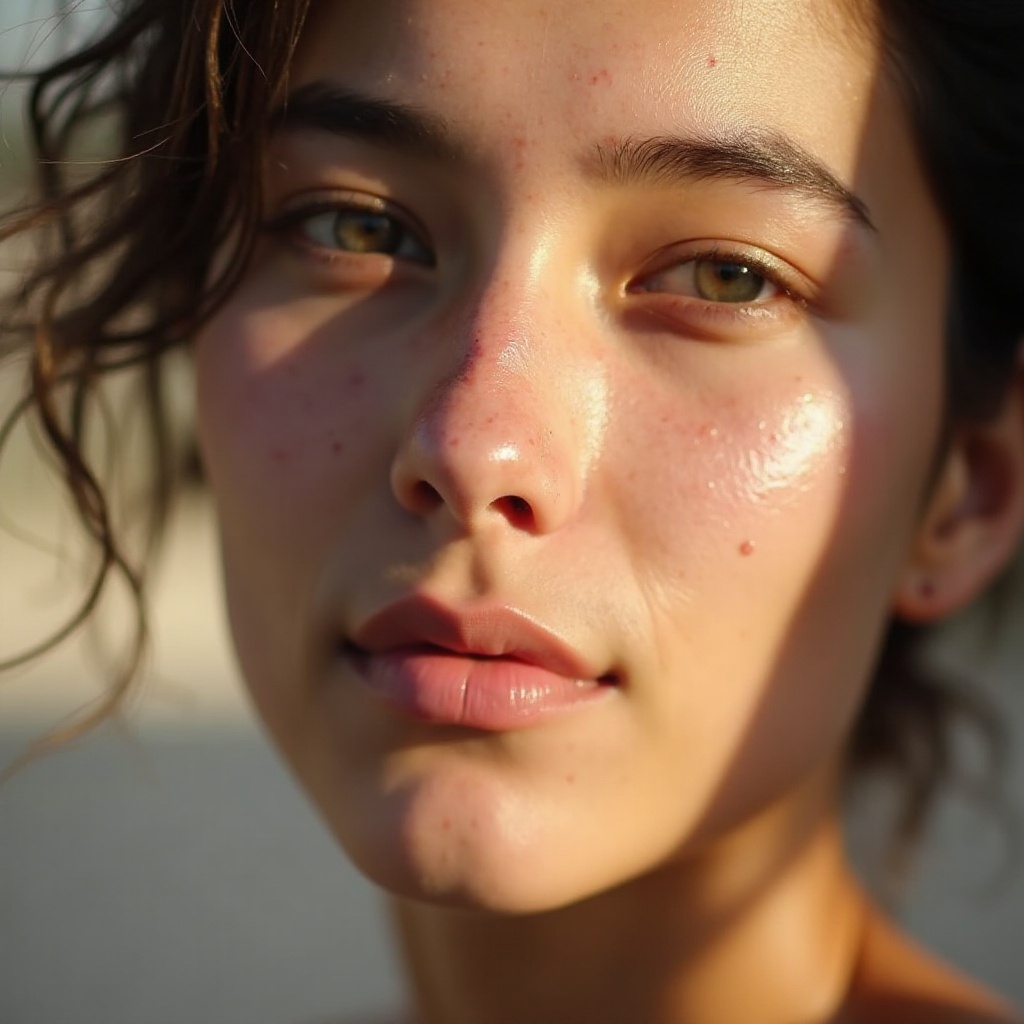
Capturing a moment is just a tap away with your iPhone, but those moments can sometimes include unwanted blemishes. Thankfully, with the iPhone’s advanced technology and various editing apps available, you can easily enhance your photos to appear flawless. This article explores both the built-in photo editing features on the iPhone and the capabilities of top third-party apps to help you remove blemishes effectively.

Using the iPhone’s Built-in Photo Editing Tools
Your iPhone offers powerful tools right within the Photos app, enabling you to make quick edits without downloading additional apps.
- Access the Photos App: Launch the Photos app and choose the photo you wish to edit.
- Tap Edit: Once your photo is open, tap ‘Edit’ located in the upper right corner.
- Utilize the Retouch Tool: Head over to the ‘Adjust’ section, which includes the retouch feature perfect for small blemishes.
- Step-by-Step Guide: Zoom into the blemished area gently. Use the retouch tool to tap on the blemish until it blends seamlessly with the rest of the image.
While the native tools are great for minor adjustments, sometimes you need more advanced features offered by third-party apps.
Top Third-Party Apps for Blemish Removal
For those who wish for more precision and control, third-party apps provide a range of features to make top-notch edits. Let’s examine some of the best options available:
- Snapseed: Known for its easy use and the ‘Healing’ tool which effectively removes blemishes with pinpoint accuracy.
- Facetune: Popular for portrait editing, providing various features to smooth out skin and remove imperfections.
- Adobe Lightroom: Offers photographers detailed control with its spot removal tool, ideal for precise blemish elimination.
Each app provides unique capabilities. Snapseed’s simplicity and Facetune’s detailed skin smoothing make them standouts, especially when detailed editing is required.
Step-by-Step Editing Guide with a Third-Party App
Snapseed offers a user-friendly interface with powerful editing capabilities. Here’s how to make precise edits using Snapseed:
- Download and Open Snapseed: Available on the App Store; after downloading, open the app and select your desired photo by clicking on the ‘+’ button.
- Select the Healing Tool: Navigate to the ‘Tools’ menu and select ‘Healing’. This feature allows you to remove unwanted marks effectively.
- Zoom In for Precision: Use pinch-to-zoom to closely view the blemish.
- Apply the Tool: Carefully drag your finger over the blemish. Snapseed will smoothen and blend the area naturally into the surrounding skin.
- Review and Refine: Repeat the process as needed until you are satisfied with the results.
This guide ensures your photo remains natural, blending the blemish away smoothly. Mastering these tools can lead to stunning image transformations.
Advanced Techniques for Natural Looking Edits
Achieving a polished yet realistic photo requires subtle techniques. To maintain a natural appearance:
- Subtle Blending: After the healing process, perform gentle smoothing adjustments for a uniform look.
- Avoid Over-Editing: Resist the temptation to excessively edit, which can result in an unnatural look.
Seamless transitions between edited and unedited sections make for the most convincing photos. Understanding these techniques can elevate your editing prowess.
Maintaining Photo Quality After Edits
Once you’ve achieved the perfect edit, preserving the quality of your photo is essential. Here’s how to do so effectively:
- Saving Options: Apps like Snapseed allow you to save your images in high resolution to ensure quality is maintained.
- Image Formats: Using PNG format can help retain more detail when saving edited photos.
- Sharing Consideration: Be mindful that platforms like social media often compress images, but saving a high-quality version is crucial for archives.
With these preservation techniques, your photos will retain their vividness and clarity even after multiple edits or transfers.
Conclusion
By leveraging both the iPhone’s built-in capabilities and third-party applications, you can remove blemishes and enhance your photos effectively. Through practice and these outlined techniques, you’ll be able to achieve and maintain photo perfection. Embrace the simple steps and enjoy creating stunning visuals with ease.
Frequently Asked Questions
Can I remove blemishes on iPhone without any apps?
Yes, the iPhone’s Photos app includes tools for basic blemish removal, enabling edits without third-party apps.
What are the best free apps for blemish removal on iPhone?
Snapseed and Adobe Lightroom offer robust free features for blemish removal, while Facetune provides excellent touch-up tools with some free capabilities.
How can I ensure my edited photos don’t lose quality?
Save your photos in the highest resolution offered by the app, and consider using PNG format to preserve quality during saving and sharing.